Showing posts with label Halloween. Show all posts

Sunday, September 11, 2022

September 2022 - Stamping Sunday Blog Hop

Hello Stamping Friends! Today, I’m super-excited to share the September 2022 Stamping Sunday Blog Hop. This hop is hosted by Sara Levin and we share on the second Sunday of every month. Our theme for the month is “Change is in the Air” where we are welcoming in a new season. Welcome, I’m so happy you are here today! 
We are welcoming in the Fall season here in Texas, although you wouldn’t really know it based on the fact that the temps are still in the 90 degree range. Ugh! But, it’s September and I know eventually we will get a reprieve from this heat. I’m hopeful anyway! I affectionately refer to this time of year here are “Never-Ending Summer” and I’m pretty much OVER the heat at this point. I did purchase my first round of Fall candles last week. Even if it’s still hot outside, my Pumpkin Pecan Waffles candle makes me want to put on a fuzzy sweater, sip a warm latte, crank up the a/c…and NOT go outside! Haha!! 

As we transition to the Fall season here in the US, I decided to create my projects with a Halloween Theme for this hop. 
Color Combo:
I know Halloween may not be everyone’s cup of tea (or spiced cider, for that seasonal twist). I actually really enjoy creating Halloween projects. I’m one of this “middle of the road” Halloween people…I don’t like things TOO scary or TOO over-the-top cute. I feel like the Best Witches stamp set from the Stampin Up!® July - December Mini Catalog is perfect for a little Halloween fun! Plus, it’s a fun set to color with Stampin’ Blends! I decided to create a card and coordinating gift card holder with that sassy witch and her little frog friend!  

All of the measurements for my project are listed below and there is a full supply list at the very end of this blog post.
Card Measurements and Details:
  • Pumpkin Pie Card Base: 5-1/2” x 8-1/2”, scored at 4-1/4”
  • Basic Black Cardstock: 5-1/4” x 4” 
  • Black & White Designs Designer Series Paper: 5-1/8” x 3-7/8” 
  • Pumpkin Pie Cardstock: 4-1/2” x 3-1/8” 
  • Basic White Cardstock: die cut 4-3/8” x 3” rectangle from Stitched Rectangles Dies, add Highland Heather ink to background with a Blending Brush
  • Basic White Cardstock: scraps to stamp and die-cut witch and toad, color with Stampin’ Blends
  • Pumpkin Pie Cardstock: 1-7/8” x 3/4”, stamp sentiment in Momento ink and snip either end at an angle
  • Black & White Gingham Ribbon, Glitter Washi Four Pack and Classic Matte Dots (black)
  • Basic White Cardstock (inside card): 4” x 5-1/4”, stamp frog, stars & sentiment, color stars with Stampin Blends and add a strip of Glitter Washi
Here’s a little peek inside the card! I brought the colors in from the front and of course, you can never go wrong with another stamped frog, right? He totally looks like he’s “over it” and that cracks me up! 
My second project is an easy-to-create gift card holder. The Glitter Washi Four Pack is a great accent that is easy to use without a lot of extra work. For this project I simply added three strips at an angle for a pop of color and sparkle. Super-easy accent and adds the perfect amount of detail. 

Inside the card, I added a Basic White Cardstock panel to both sides of the card, On the left, I stamped some stars and colored with Stampin’ Blends. I left room for a handwritten note. On the right, I also popped on a piece of DSP to create the gift card holder. The little strip of Glitter Washi just keeps the party going from the front of the card! 
Gift Card Holder Measurements and Details:
  • Pumpkin Pie Base: 5” x 3-3/4” , scored on long side at 2-1/2”
  • Basic Black Cardstock: 2-3/8” x 3-5/8” 
  • Black & White Designs Designer Series Paper: 2-1/4” x 3-1/2”
  • Basic White Cardstock: scrap to die cut 1-1/2” circle from Stylish Shapes Dies, stamp sentiment and stars in Momento ink and color stars with Highland Heather Stampin’ Blends
  • Basic White Cardstock: scrap to stamp frog image, color with Granny Apple Green Stampin’ Blends and fussy-cut
  • Glitter Washi Four Pack, Black & White Gingham Ribbon and Classic Matte Dots
  • Basic White Cardstock (inside card): 2-3/8” x 3-5/8” (2 pieces)
  • Black & White Designs Designer Series Paper: 2-3/8” x 1” 

I hope you enjoyed these projects today using the Best Witches stamp set! Please continue along on the Stamping Sunday Blog Hop to check out more awesome creative inspiration. 

Stamping Sunday - September 2022 Blog Hop:


Thanks for visiting today! All of the products that I used on this card are listed below. You c
an click on any of the photos to go directly to my 
Stampin’ Up!® online store. 

The current Host Code is: 
7PVWAKX9

Place an order over $50 (before tax and shipping) using the above host code, you will also receive a gift from me: a FREE Exclusive Project Tutorial PDFsee the sneak peek below. Each month, I partner with an amazingly talented group of demonstrators from around the world to create these project tutorials. This month's tutorial features 12 awesome project ideas to inspire your creativity! 
If your order is over $150, please do NOT use the host code. 
You will still receive the PDF tutorial along with an additional free gift from me.

Thanks for stopping by.
Have a HAPPY day!

BIG hugs, 
Anne Marie

Product List

Sunday, August 14, 2022

Spooky Cute for PP604

Happy Sunday, friends!
Time for a fun new creative challenge over at The Paper Players
This week, I am pleased to be your host for our monthly Color Challenge.
For this challenge, I decided to go with one of my all-time favorites: Black & White with a POP of Color! There are so many possibilities with this combo and I hope that it inspires your creativity this week. We’d love to see what you create! 

*I’ve listed all of the measurements and details for my card below and there is a full supply list at the very end of this post.
Color Combo:
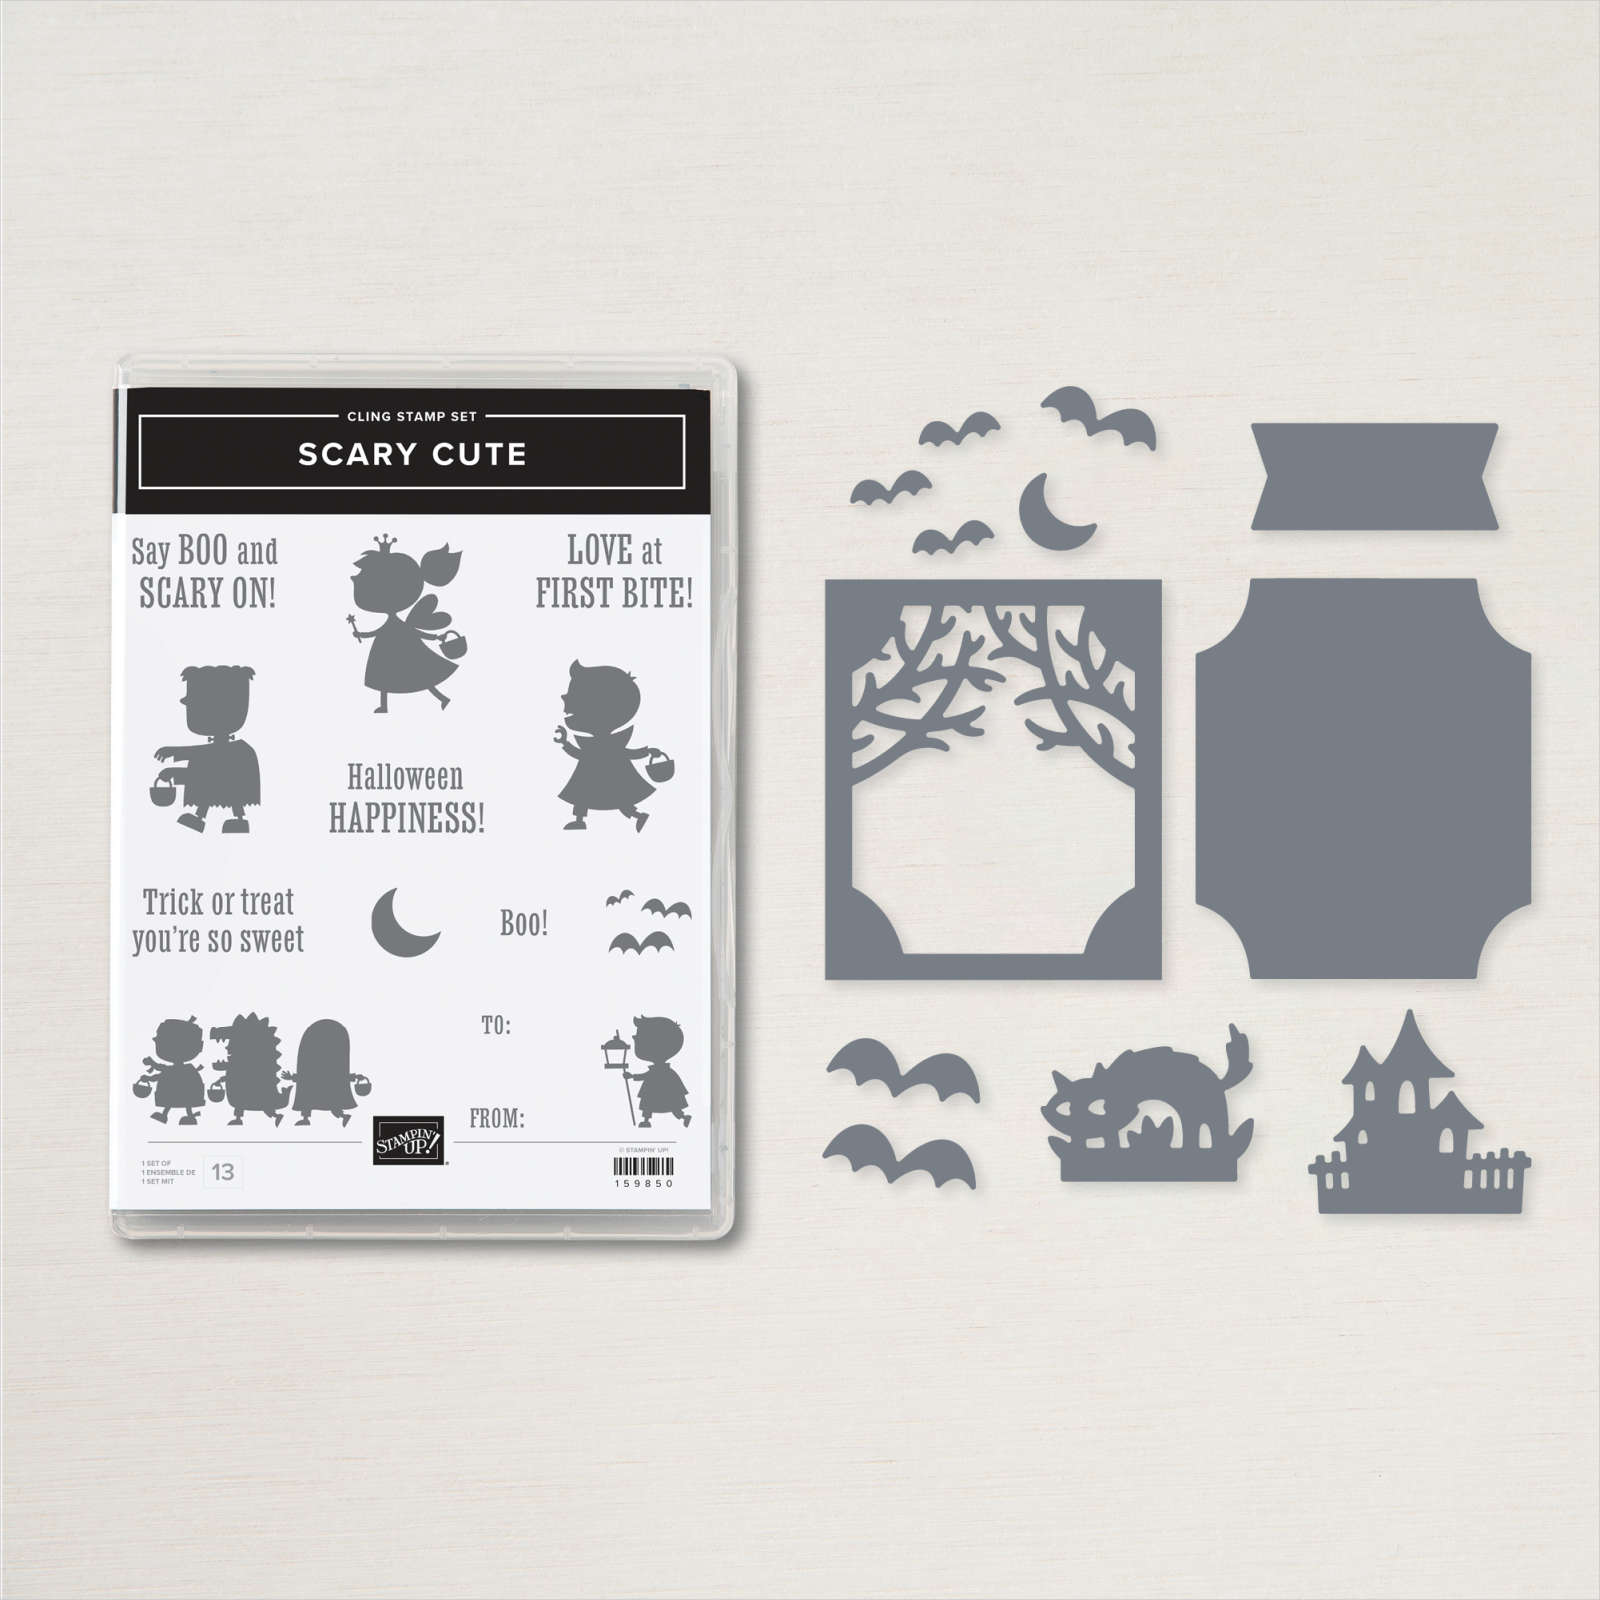
For my card, I decided to use the Scary Cute stamp set and coordinating Scary Silhouette Dies from the Stampin’ Up!® July-December Mini Catalog. This little set is SO cute! I just love the silhouette images of those little trick-or-treaters. Their itty-bitty feet just crack me up! So much fun to create little scenes for not-so-spooky Halloween cards. 
I wanted to create a little scene where the kiddo with the lantern was leading the way for his little friends down the street on the hunt for some trick-or-treating fun. I popped on a strip of black Glitter Washi for the “walkway”. I also shaded Parakeet Party ink around the edges and all throughout the scene which kind of has a spooky, foggy vibe which is tough to really see in the photos. I popped in a moon and a couple of bats in the sky to complete the scene. The adorable sentiment is heat embossed to make it pop! Finally I added some shimmery ribbon and rhinestones because everything is better with sparkle! 

Stamping Secret, shhh: The little stamped moon on the die-cut circle was NOT part of the original plan. I was just planning to stamp the moon directly on the cardstock…which I did. Then, someone (cough-cough) was a little heavy handed with the Wink of Stella and the ink bled a little. Ok, a LOT. Of course the card was already glued together so the little circle was my “fix” for that oopsie. I always say: “There are no mistakes in stamping, just opportunities for embellishment!” 
Card Measurements & Details: 
  • Basic Black Card Base: 5-1/2” x 8-1/2”, scored at 4-1/4”
  • Parakeet Party Cardstock: 5-1/4” x 4”
  • Black & White Designs Designer Series Paper: 5-1/8” x 3-7/8” 
  • Basic Black Cardstock: 4” x 2-3/4” 
  • Parakeet Party Cardstock: 3-7/8” x 2-5/8”, add Parakeet Party ink around edges with Sponge Daubers and throughout the entire piece of cardstock with Blending Brushes, Wrap a piece of Glitter Washi around the bottom and stamp images in Momento ink. 
  • Basic Black Cardstock: scrap to stamp sentiment in Versamark ink, heat emboss in White and die cut with banner with Stylish Shapes Dies
  • Basic Black Cardstock: scrap to die cut two bat images with Spooky Silhouettes Dies, accent with Wink of Stella
  • Parakeet Party Cardstock: scrap to stamp moon in Momento ink and die cut with circle from Stylish Shapes Dies
  • Parakeet Party Metallic Woven Ribbon and Rhinestone Basic Jewels
  • Basic White Cardstock (inside card): 5-1/4” x 4”, stamp sentiment in Momento ink and bats in Parakeet Party ink
  •  Black & White Designs Designer Series Paper (inside card): 3/4” x 4” 
Here is a peek inside the card! I couldn’t for the life of me stamp that sentiment straight. Do you ever have one of those days? Ugh, right? So, after two attempts, I just decided to deliberately stamp it at an angle to rectify that issue. Problem solved, haha! I also added some little bats for added color. I can’t wait to send this one out for Halloween! :)    

I hope you will join us this week over at The Paper Players and share your project for our "Black and White with a POP of Color" ChallengeWe’d love to see what you come up with! You can link up your project through Noon PST on Friday August 19th, 2022

Be sure to stop by and say hello to The Paper Players Design Team: 
 
Anne Marie Hile (that’s me!) 

Thanks for visiting today! All of the products that I used on this card are listed below. You c
an click on any of the photos to go directly to my 
Stampin’ Up!® online store. 

The current Host Code is: 
AK2P3JHY

Sale-A-Bration also runs from July 1, 2022 through August 31, 2022. You can earn FREE products from Stampin’ Up!®  by shopping, hosting or joining Stampin’ Up! You can click the photo below or check out the details RIGHT HERE. All Sale-A-Bration products are available while supplies last, so don’t wait too long to grab your favorites! 
Also, If you place an order over $50 (before tax and shipping) using the above host code, you will also receive a gift from me: a FREE Exclusive Project Tutorial PDFsee the sneak peek below. Each month, I partner with an amazingly talented group of demonstrators from around the world to create these project tutorials. This month's tutorial features 12 awesome project ideas to inspire your creativity! 
If your order is over $150, please do NOT use the host code. 
You will still receive the PDF tutorial along with an additional free gift from me.

Thanks for stopping by.
Have a HAPPY day!

BIG hugs, 
Anne Marie


Product List