

Hello Stamping Friends! Today, I’m super-excited to share the July 2022 Stamping Sunday Blog Hop. This hop is hosted by Sara Levin and we share on the second Sunday of every month. Our theme for the month is “Paper Perfection” where we are showcasing all of the fabulous Designer Series Papers from the Stampin’ Up!® Annual Catalog. Welcome, I’m so happy you are here today!

When it came to picking a pack of Designer Series Paper for this blog hop, I have to admit, I had a tough time. I am a huge fan off ALL patterned paper and it is the one craft supply that I probably buy the most of. Do I always USE it? That’s a story for a different day. I would call myself more of a “curator of an extensive collection of DSP". One of my goals this year has been to actually use more, because let’s be honest, pretty paper shouldn’t be hidden in your craft room, right?

After much contemplation, I decided to feature the He’s the Man Specialty Designer Series Paper along with the coordinating He’s All That Bundle for my projects today. The main reason is that this Specialty DSP not only has those awesome patterns that I love so much, but this particular pack also has two sheets of coordinating die-cut images. Talk about card making made easy! If you are like me and often struggle to create masculine cards, this is a great suite of products.
All of the measurements for my project are listed below and there is a full supply list at the very end of this blog post.

My first project is a fun fold card. This fold is not super complicated but is great to showcase different patterns of DSP on a card. I added lots of additional layers, because that’s how I roll. In addition to the products in the He’s the Man Suite, I also used the Tailor Made Tags Dies. Partially because I thought they would add some fun detail to the card. Also because I bought them a while ago and haven’t used them yet.
The sentiment on the card comes from the die-cuts in the DSP. So easy and I love the detail! The little star element also came from the DSP. It was so easy layer the elements together for a fun focal image!

Card Measurements and Details:
- Early Espresso Card Base: 4-1/4” x 7-1/4”, scored at 5-1/2”
- Cajun Craze Cardstock (front panel): 2-7/8” x 5-3/8”
- He’s the Man Specialty Designer Series Paper (front panel): 2-3/4” x 5-1/4”
- Early Espresso Cardstock (right side): 4” x 3-3/4”, score on long side at 1/2” (this tab will tuck under the Basic White layer inside the card to create the fun fold)
- Cajun Craze Cardstock (right panel): 3-3/8” x 3-5/8”
- He’s the Man Specialty Designer Series Paper (right panel): 3-1/4” x 3-1/2”
- Cajun Craze Cardstock: scrap to die cut tag from Tailor Made Tags Dies
- Mint Macaron Cardstock: scrap to die cut two banners from All That Dies
- He’s the Man Specialty Designer Series Paper: Sentiment circle and Cajun Craze star from die cut images
- Early Espresso Faux Suede Trim, Crumb Cake Baker’s Twine and Rustic Metallic Adhesive Backed Dots
- Basic White Cardstock (inside card): 4” x 5-1/4”, add a tree die cut from the He’s the Man Specialty DSP
- He’s the Man Specialty Designer Series Paper (inside card): 1/2” x 5-3/8”

Here’s a little peek inside the card! I added in a die-cut tree from the He’s All That Specialty Designer Series Paper and left the rest blank for a handwritten note. I can’t say enough how much I enjoy the die-cut elements that come in this DSP pack. They are awesome accents and really make it easy to dress up a card in a snap!

For my second project, I used three additional pattens of that awesome He’s the Man Specialty Designer Series Paper. Since I used the Tailor Made Tags Dies on the first card, I wanted to carry them through to this project as well. I just love that dotted border on the edges of the tags! I also added some Crumb Cake ink around the edges for a little distressed detail and also added some ink “splatters” using a Dark Crumb Cake Stampin’ Blends marker. Those little star accents come from the die cuts in the DSP pack. I popped them up and added Wink of Stella for added sparkle.

Card Measurements and Details:
- Cajun Craze Card Base: 4-1/4” x 11”, scored at 5-1/2”
- Early Espresso Cardstock: 4” x 5-1/4”
- He’s the Man Specialty Designer Series Paper (car pattern): 3-7/8” x 5-1/8”
- He’s the Man Specialty Designer Series Paper (plaid pattern): 3-7/8” x 1-3/4”
- He’s the Man Specialty Designer Series Paper (striped pattern): scrap to die cut tag from Tailor Made Tag Dies
- Crumb Cake Cardstock: scrap to die cut tag from Tailor Made Tag Dies, stamp image in Early Espresso ink, use sponge dauber to distress edges with Crumb Cake ink and flick some ink “splatters” using Crumb Cake Stampin’ Blends
- Early Espresso Cardstock: scrap to die cut the top of tag detail from Tailor Made Tag Dies
- He’s the Man Specialty Designer Series Paper: die cut stars
- Early Espresso Faux Suede Trim, Crumb Cake Baker’s Twine and Rustic Metallic Adhesive Backed Dots
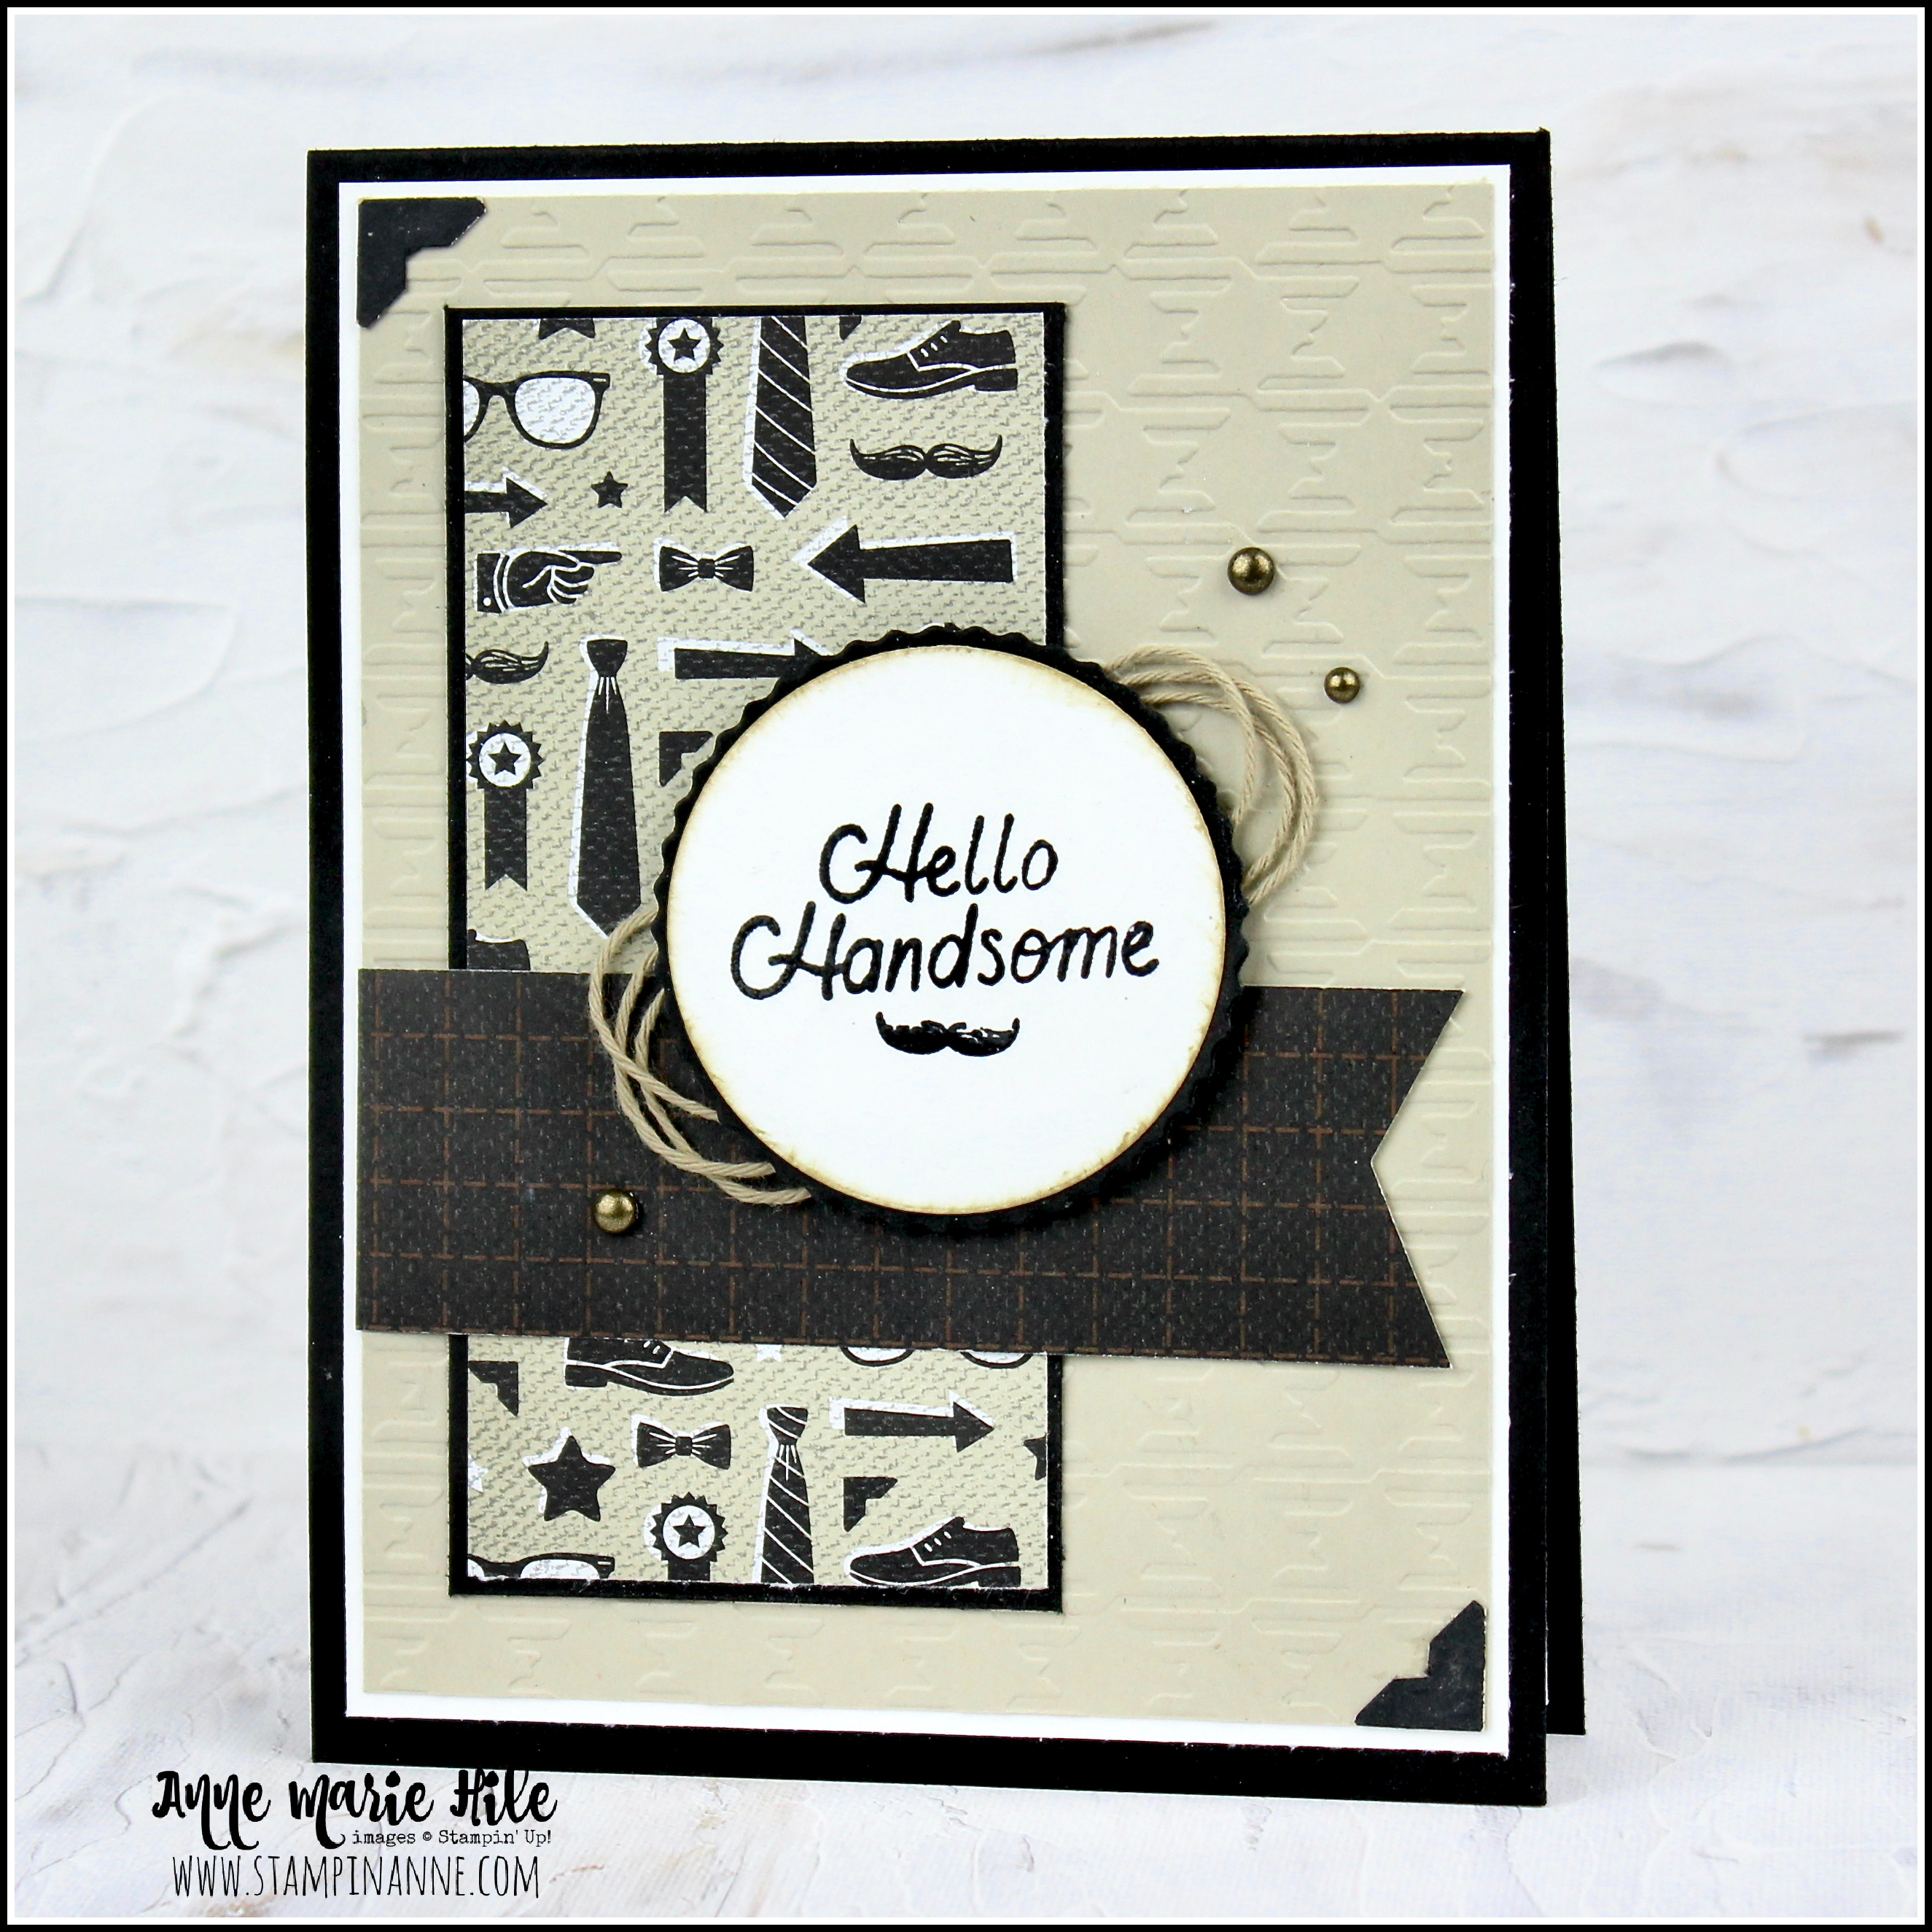
I also have a THIRD bonus card to share with you. This card features another way to use the bundle and that awesome DSP. The color combo is Basic Black, Sahara Sand and Basic White. I also brought in the metallic embellishments and the twine…although that detail on the twine took a LONG time to position where I wanted it. I still shudder to think about the amount of time I fussed with it. Haha! If you’d like more info on this card, you can watch the video of how it came together HERE on my YouTube channel.

I hope you enjoyed these projects today using the He’s All That Bundle and He’s the Man Specialty Designer Series Paper! Please continue along on the Stamping Sunday Blog Hop to check out more awesome creative inspiration. If you are following the hop, your next stop will be the always awesome Cheryll Miller from Australia.
Stamping Sunday - July 2022 Blog Hop:
Thanks for visiting today! All of the products that I used on this card are listed below. You c
The current Host Code is:
S6CM4U6Q
Sale-A-Bration also runs from July 1, 2022 through August 31, 2022. You can earn FREE products from Stampin’ Up!® by shopping, hosting or joining Stampin’ Up! You can click the photo below or check out the details RIGHT HERE .

Also, If you place an order over $50 (before tax and shipping) using the above host code, you will also receive a gift from me: a FREE Exclusive Project Tutorial PDF, see the sneak peek below. Each month, I partner with an amazingly talented group of demonstrators from around the world to create these project tutorials. This month's tutorial features 12 awesome project ideas to inspire your creativity!

If your order is over $150, please do NOT use the host code.
You will still receive the PDF tutorial along with an additional free gift from me.
Thanks for stopping by.
Have a HAPPY day!
Big hugs,
Anne Marie
")
")


 Specialty Designer Series Paper")


 Faux Suede Trim")


")
")

 Designer Series Paper")


")
")


 Designer Series Paper")


